

Cloud Sync
Continuous sync through a free Supabase project that you own. Everything is encrypted on your device before it’s uploaded.
P2P Transfer
A one-time transfer between two devices on the same network, using a QR code. No account needed.
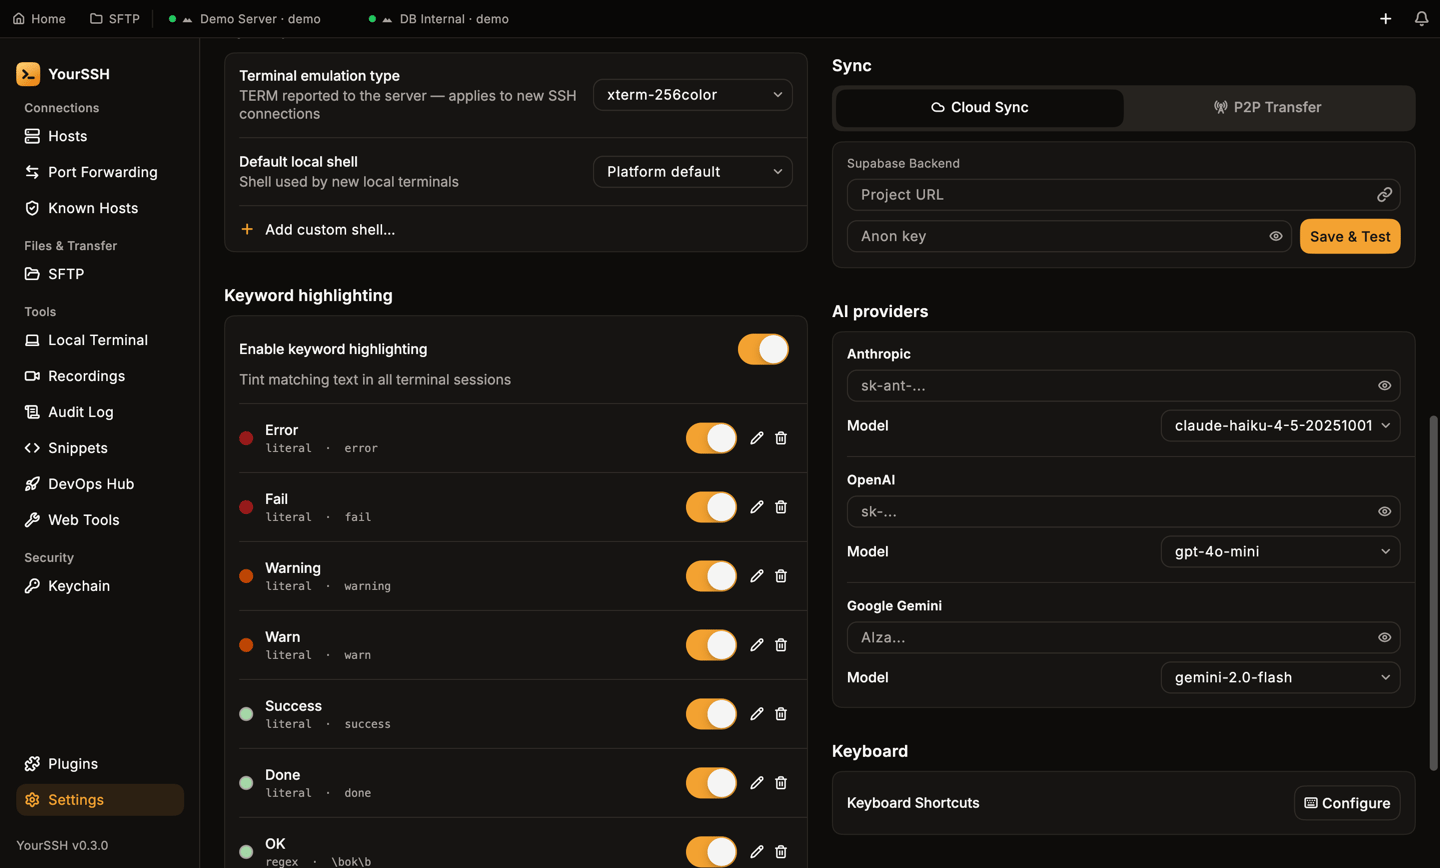
Settings → Sync before any setup. Choose Cloud Sync or P2P Transfer.
Cloud Sync
What syncs
Cloud Sync uploads your host list together with host passwords. Nothing else goes into the payload: private key files, snippets, AI provider keys, known hosts and settings are not uploaded.How it’s protected
- YourSSH encrypts the data on your device with AES-256-GCM before upload. Supabase only ever stores ciphertext.
- The encryption key comes from a 12-character sync code that YourSSH generates for you. The code never leaves your devices.
- The sync code is the only secret that protects your data. The Supabase anon key is just an API credential, and on its own it can’t decrypt anything.
- The row that holds your data is named with a one-way hash of the sync code, not the code itself.
- YourSSH rejects older data that someone replays from the server, so a stale copy can’t overwrite your newer hosts.
Set it up
1
Create a Supabase project
Sign up at supabase.com, click New project, choose a region close to you and set a database password.
2
Copy the project URL and anon key
In Supabase, open Project Settings → API. Copy the Project URL (
https://<project-ref>.supabase.co) and the anon (publishable) key.3
Enter them in YourSSH
In Settings → Sync → Cloud Sync, paste the URL into Project URL and the key into Anon key, then click Save & Test.
4
Create the table, if asked
If the The policy lets anyone with your anon key read and write the table. That is safe for confidentiality because the data is encrypted with your sync code, which Supabase never sees.
sync_data table doesn’t exist, YourSSH says Table not found and shows the SQL to run. Click Copy SQL, then Open SQL Editor, paste the SQL and run it. Click Save & Test again.5
Generate your sync code
When the status shows Connected, click Generate in the Sync code area. YourSSH shows a code like
XXXX-XXXX-XXXX. Click the copy button and store it safely.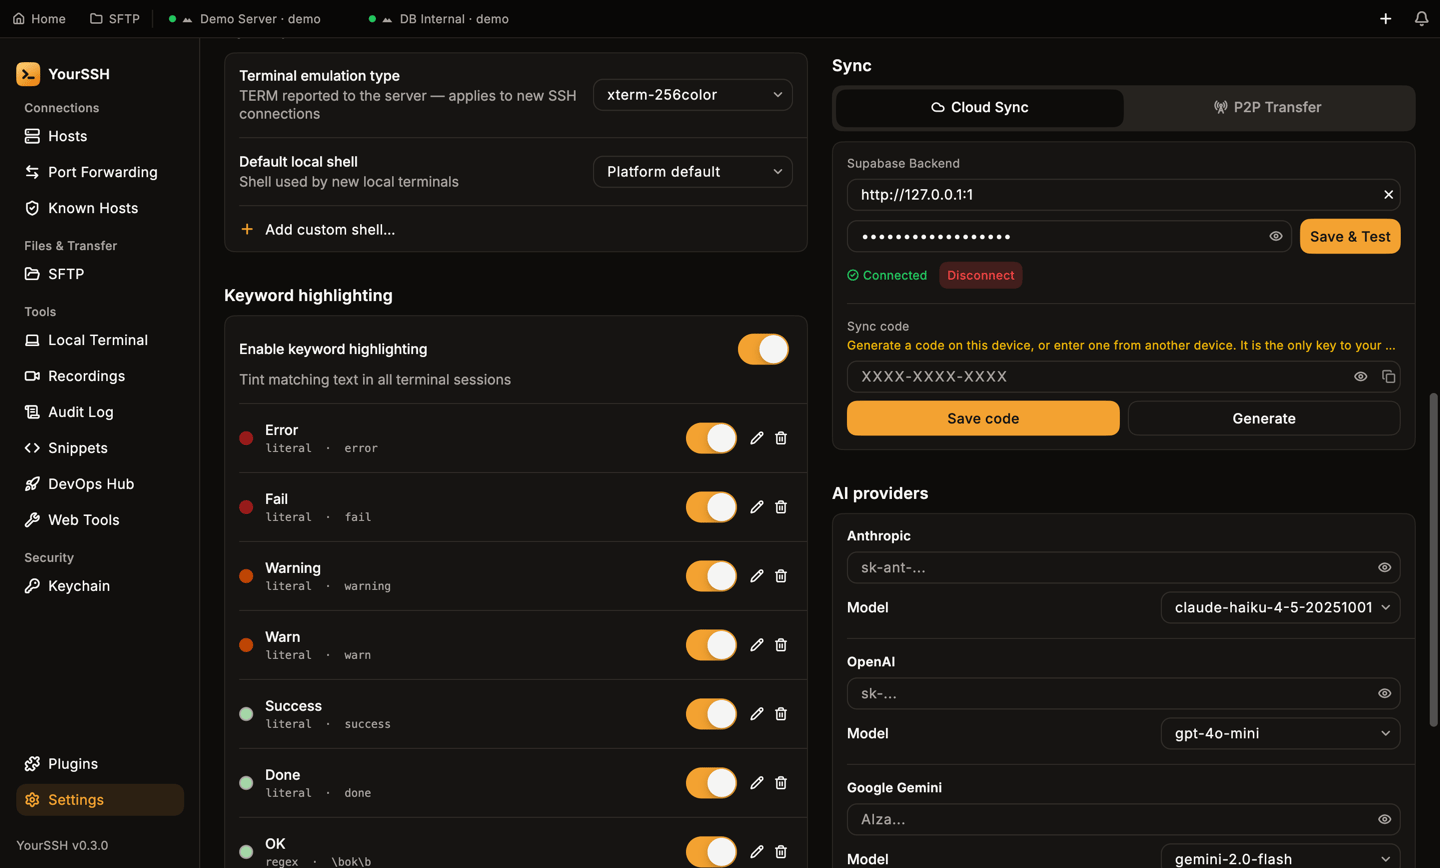
A connected Supabase project. The Sync code area is below the Connected status.
Add another device
On the new device, enter the same Project URL and Anon key and click Save & Test. Then type your existing sync code into the Sync code box and click Save code. The device downloads and decrypts your hosts and joins automatically. The code is case-insensitive and ignores dashes, soabcd-2345-efgh and ABCD2345EFGH are the same.
When it syncs
- YourSSH pushes your changes each time you add, edit or delete a host. If a push fails, it retries every 30 seconds.
- It checks for newer data from other devices when the window regains focus.
- The status line below the controls reads Syncing…, Synced, or Sync error: followed by the reason.
Regenerate the code
Click Regenerate (the Generate button after a code exists) to create a new code. YourSSH asks Regenerate sync code? first. A new code starts a new cloud record, and data tied to the old code is unreachable until you enter the old code again.Disconnect
Click Disconnect next to Connected. YourSSH asks Disconnect sync? and warns that it removes the Supabase URL, anon key and sync code from this device. Without the sync code, the synced data can’t be recovered, so copy it first.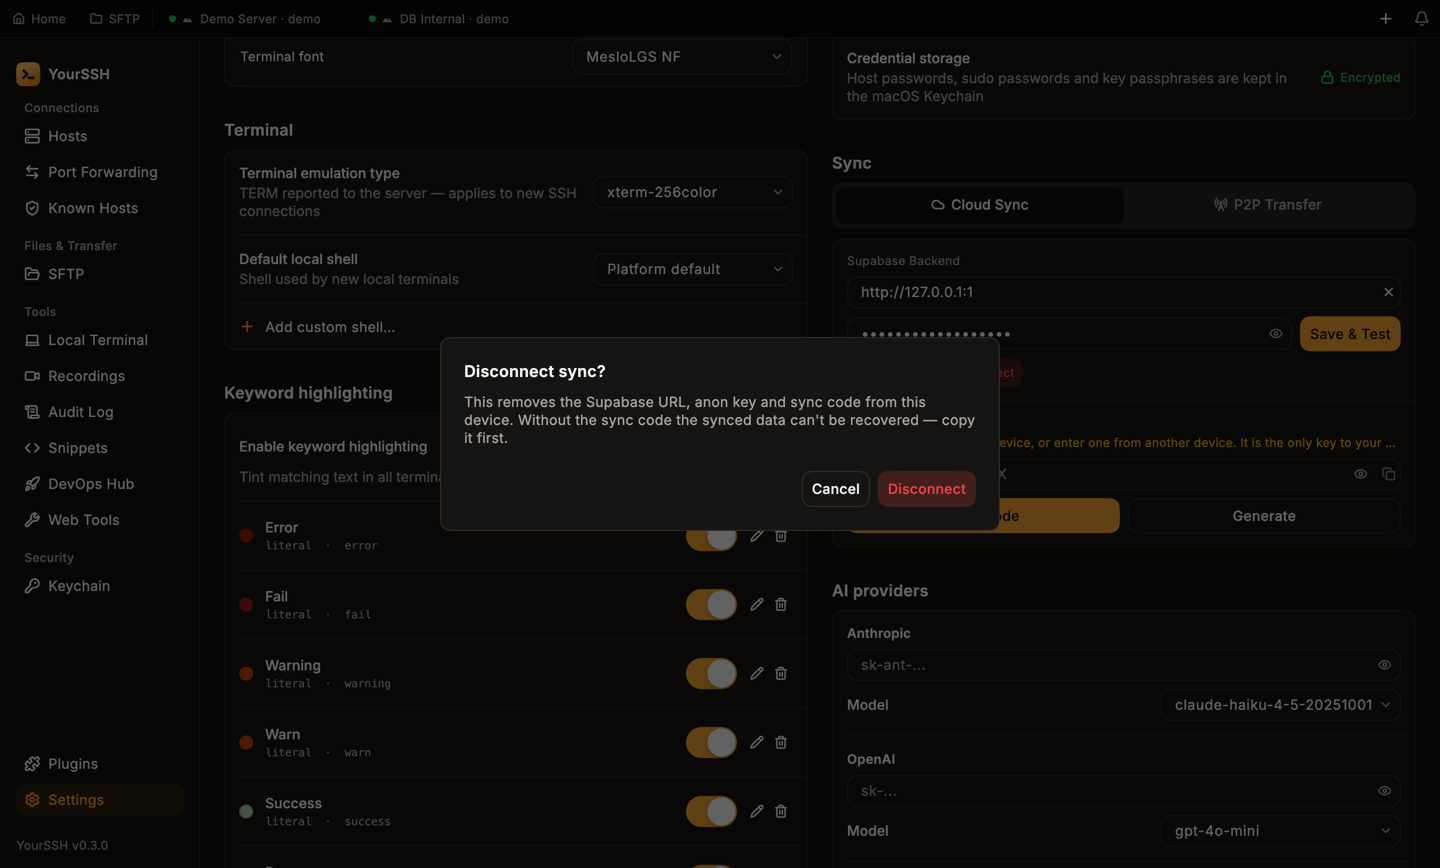
Disconnect removes the project URL, anon key and sync code from this device.
Troubleshooting
P2P Transfer over your network
Use P2P Transfer to move your hosts to another device once, without any cloud account. It transfers all hosts and their saved passwords, the same payload as Cloud Sync, and nothing else. It isn’t continuous sync.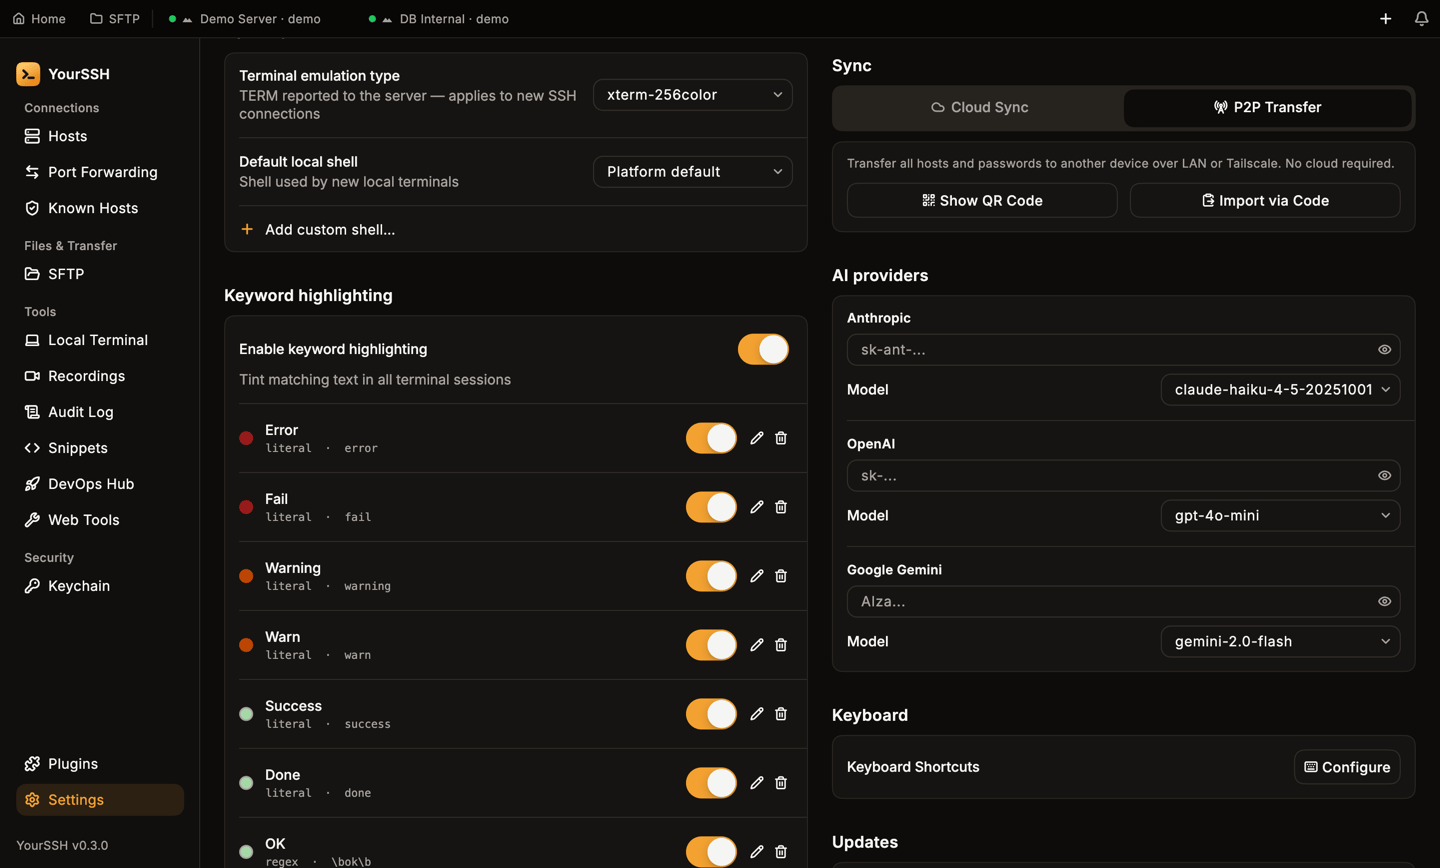
The P2P Transfer tab: Show QR Code on the sending device, Import via Code on the receiving one.
Send from a desktop
1
Show the QR code
On the device that has your hosts, open Settings → Sync → P2P Transfer and click Show QR Code. The Export via QR dialog opens.
2
Pick a network interface
If the computer has more than one network connection (Wi-Fi, Ethernet, VPN), a Network interface list appears. Choose the one the other device can reach. Changing it restarts the timer.
3
Scan before the timer ends
The QR code is valid for 2 minutes, and a countdown shows the time left. The dialog says Waiting for device to scan…. When time runs out it says Session expired. Click Cancel, then Show QR Code again for a new code.
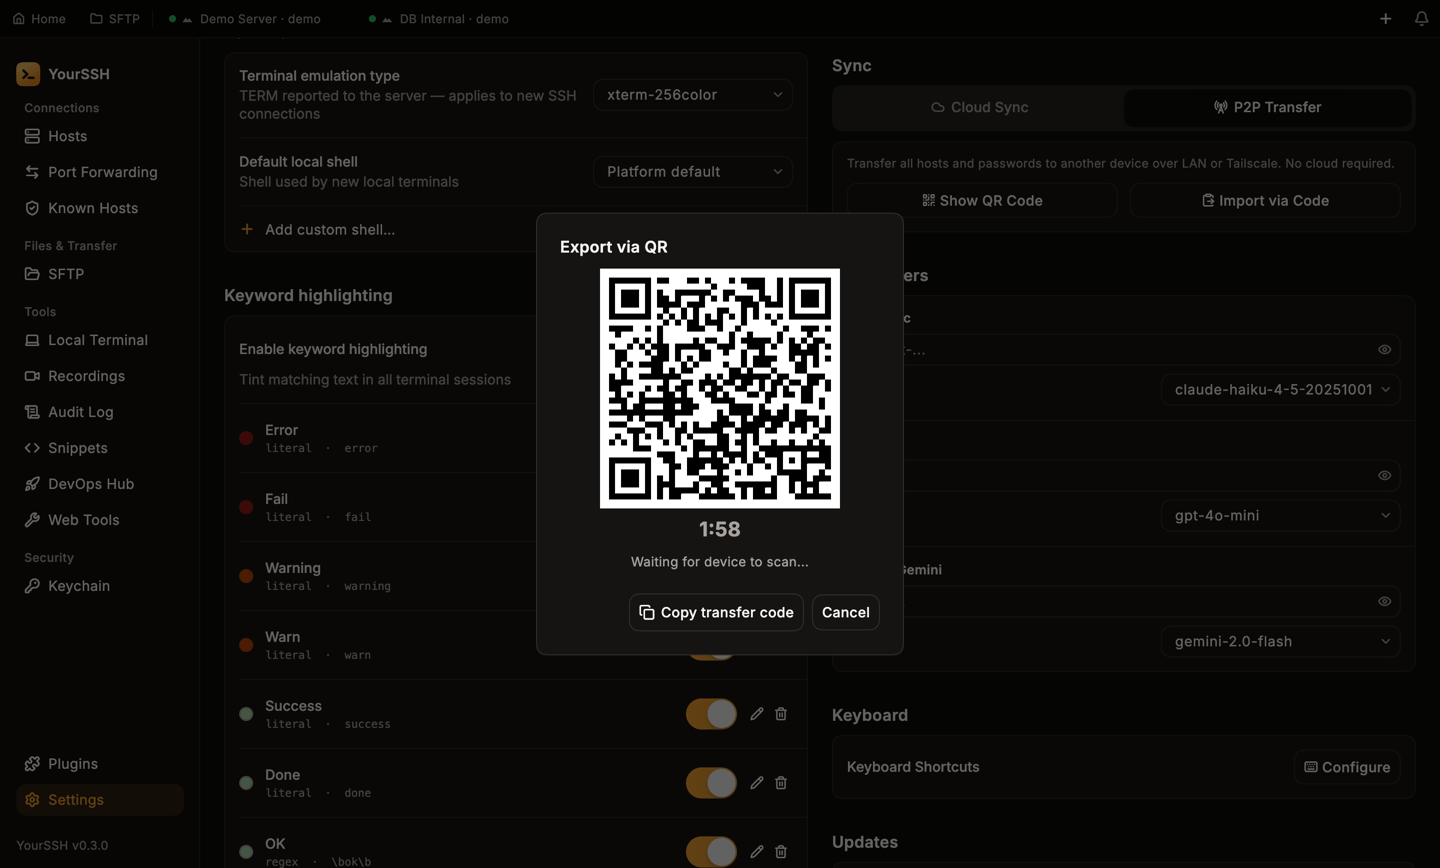
The Export via QR dialog. The address in the QR is a documentation example, not a real network address.
Receive
- On Android, open the Pair device screen and tap Scan QR code. See YourSSH for Android. An Android phone can also be the sender: its Pair device screen shows a QR code for another device to scan.
- On desktop, click Import via Code, paste the transfer code into Import via Transfer Code (or click Load from file), then click Import. On the sending device, click Copy transfer code in the Export via QR dialog to get the code.
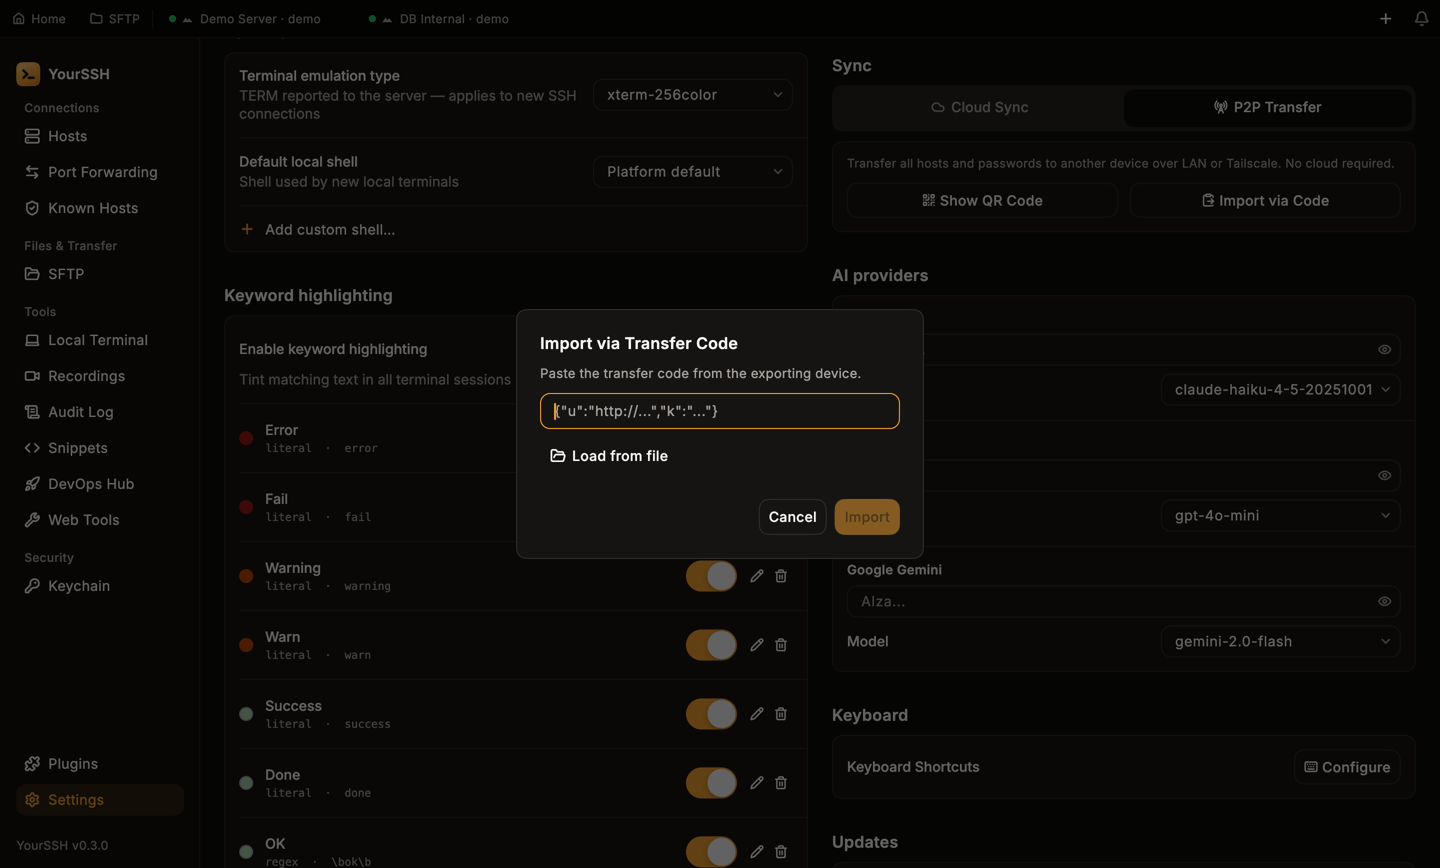
Import via Transfer Code: paste the code from the sending device.
Both devices must be on the same network, or at least the sending computer’s address must be reachable from the receiver. If the transfer can’t connect, pick a different Network interface on the sender.